Build a GPS live tracking system

  • 0

Build a GPS live tracking system

Category : IoT

GPS tracking systems are widely utilized in a multitude of applications such as fleet management, security, personal or merchandise remote monitoring.
In this tutorial we will show how to build and program a mobile GPS Tracking device that is capable of streaming location coordinates to an IoT cloud and enable a real-time map view from any location/device with a simple web-browser.

1. Hardware components

IMG_20170711_134936090 IMG_20170707_163651165 IMG_20170707_163658928_HDR IMG_20170711_191437023
<
>

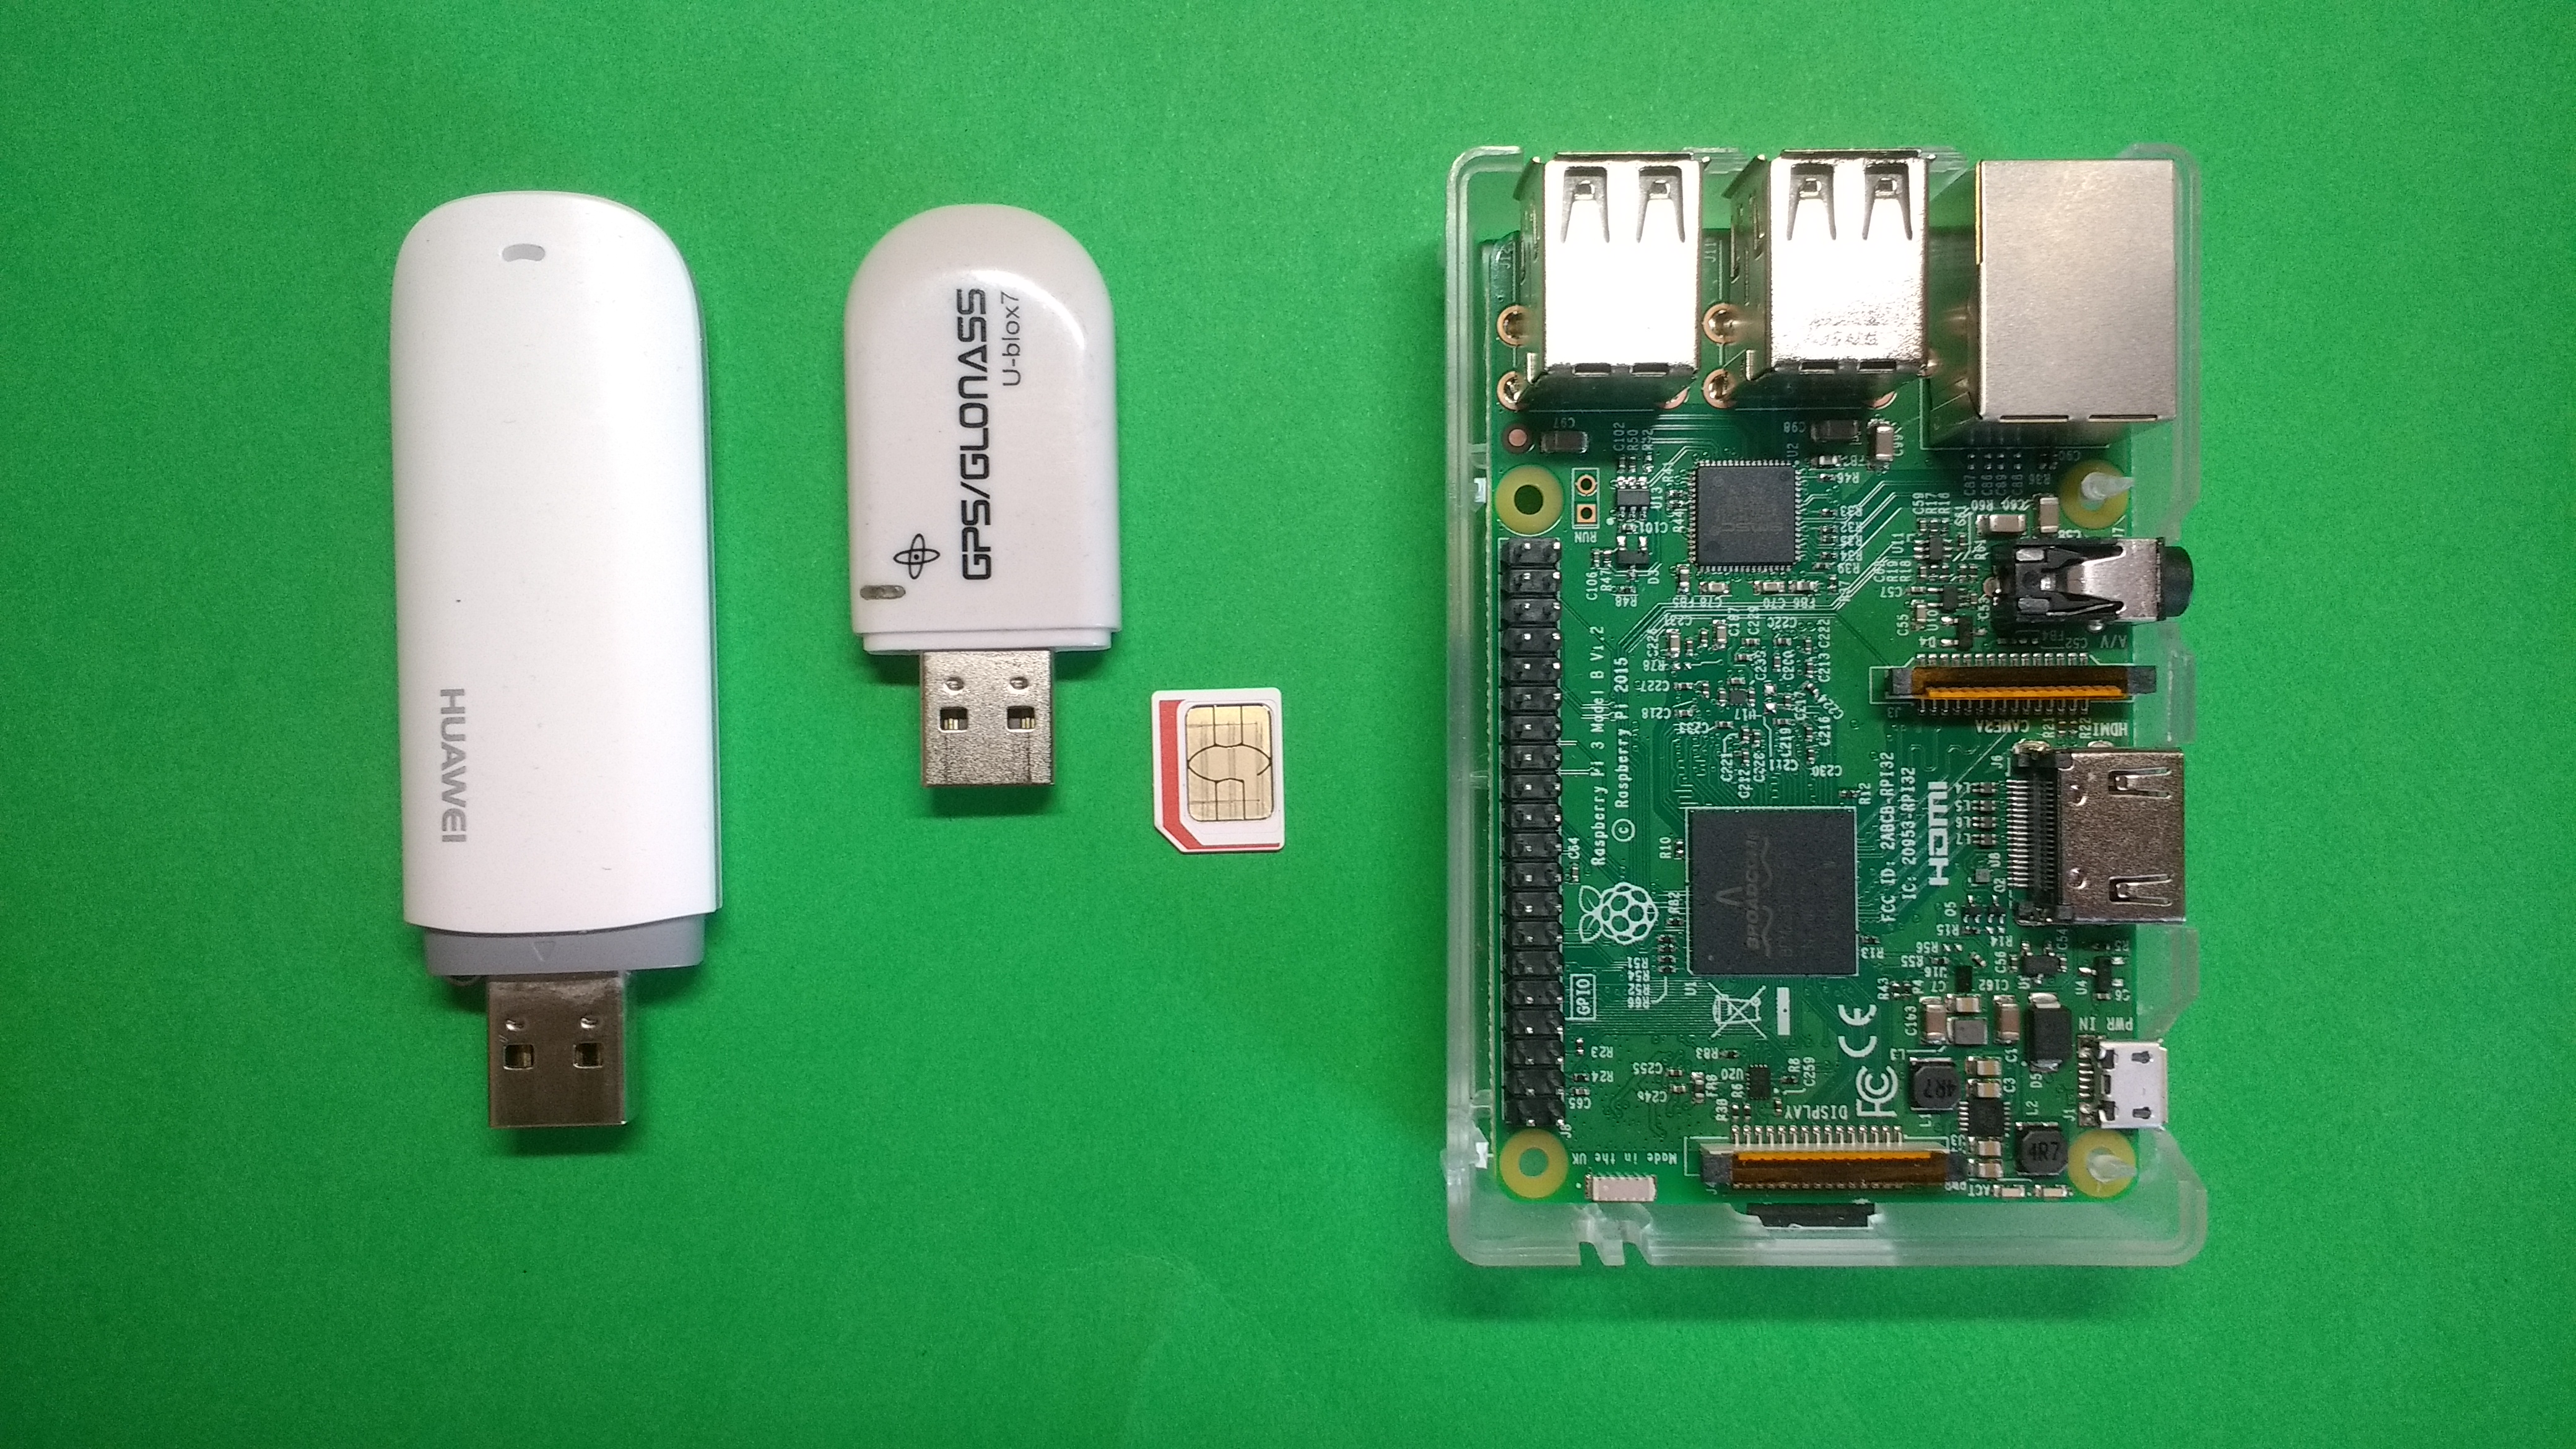
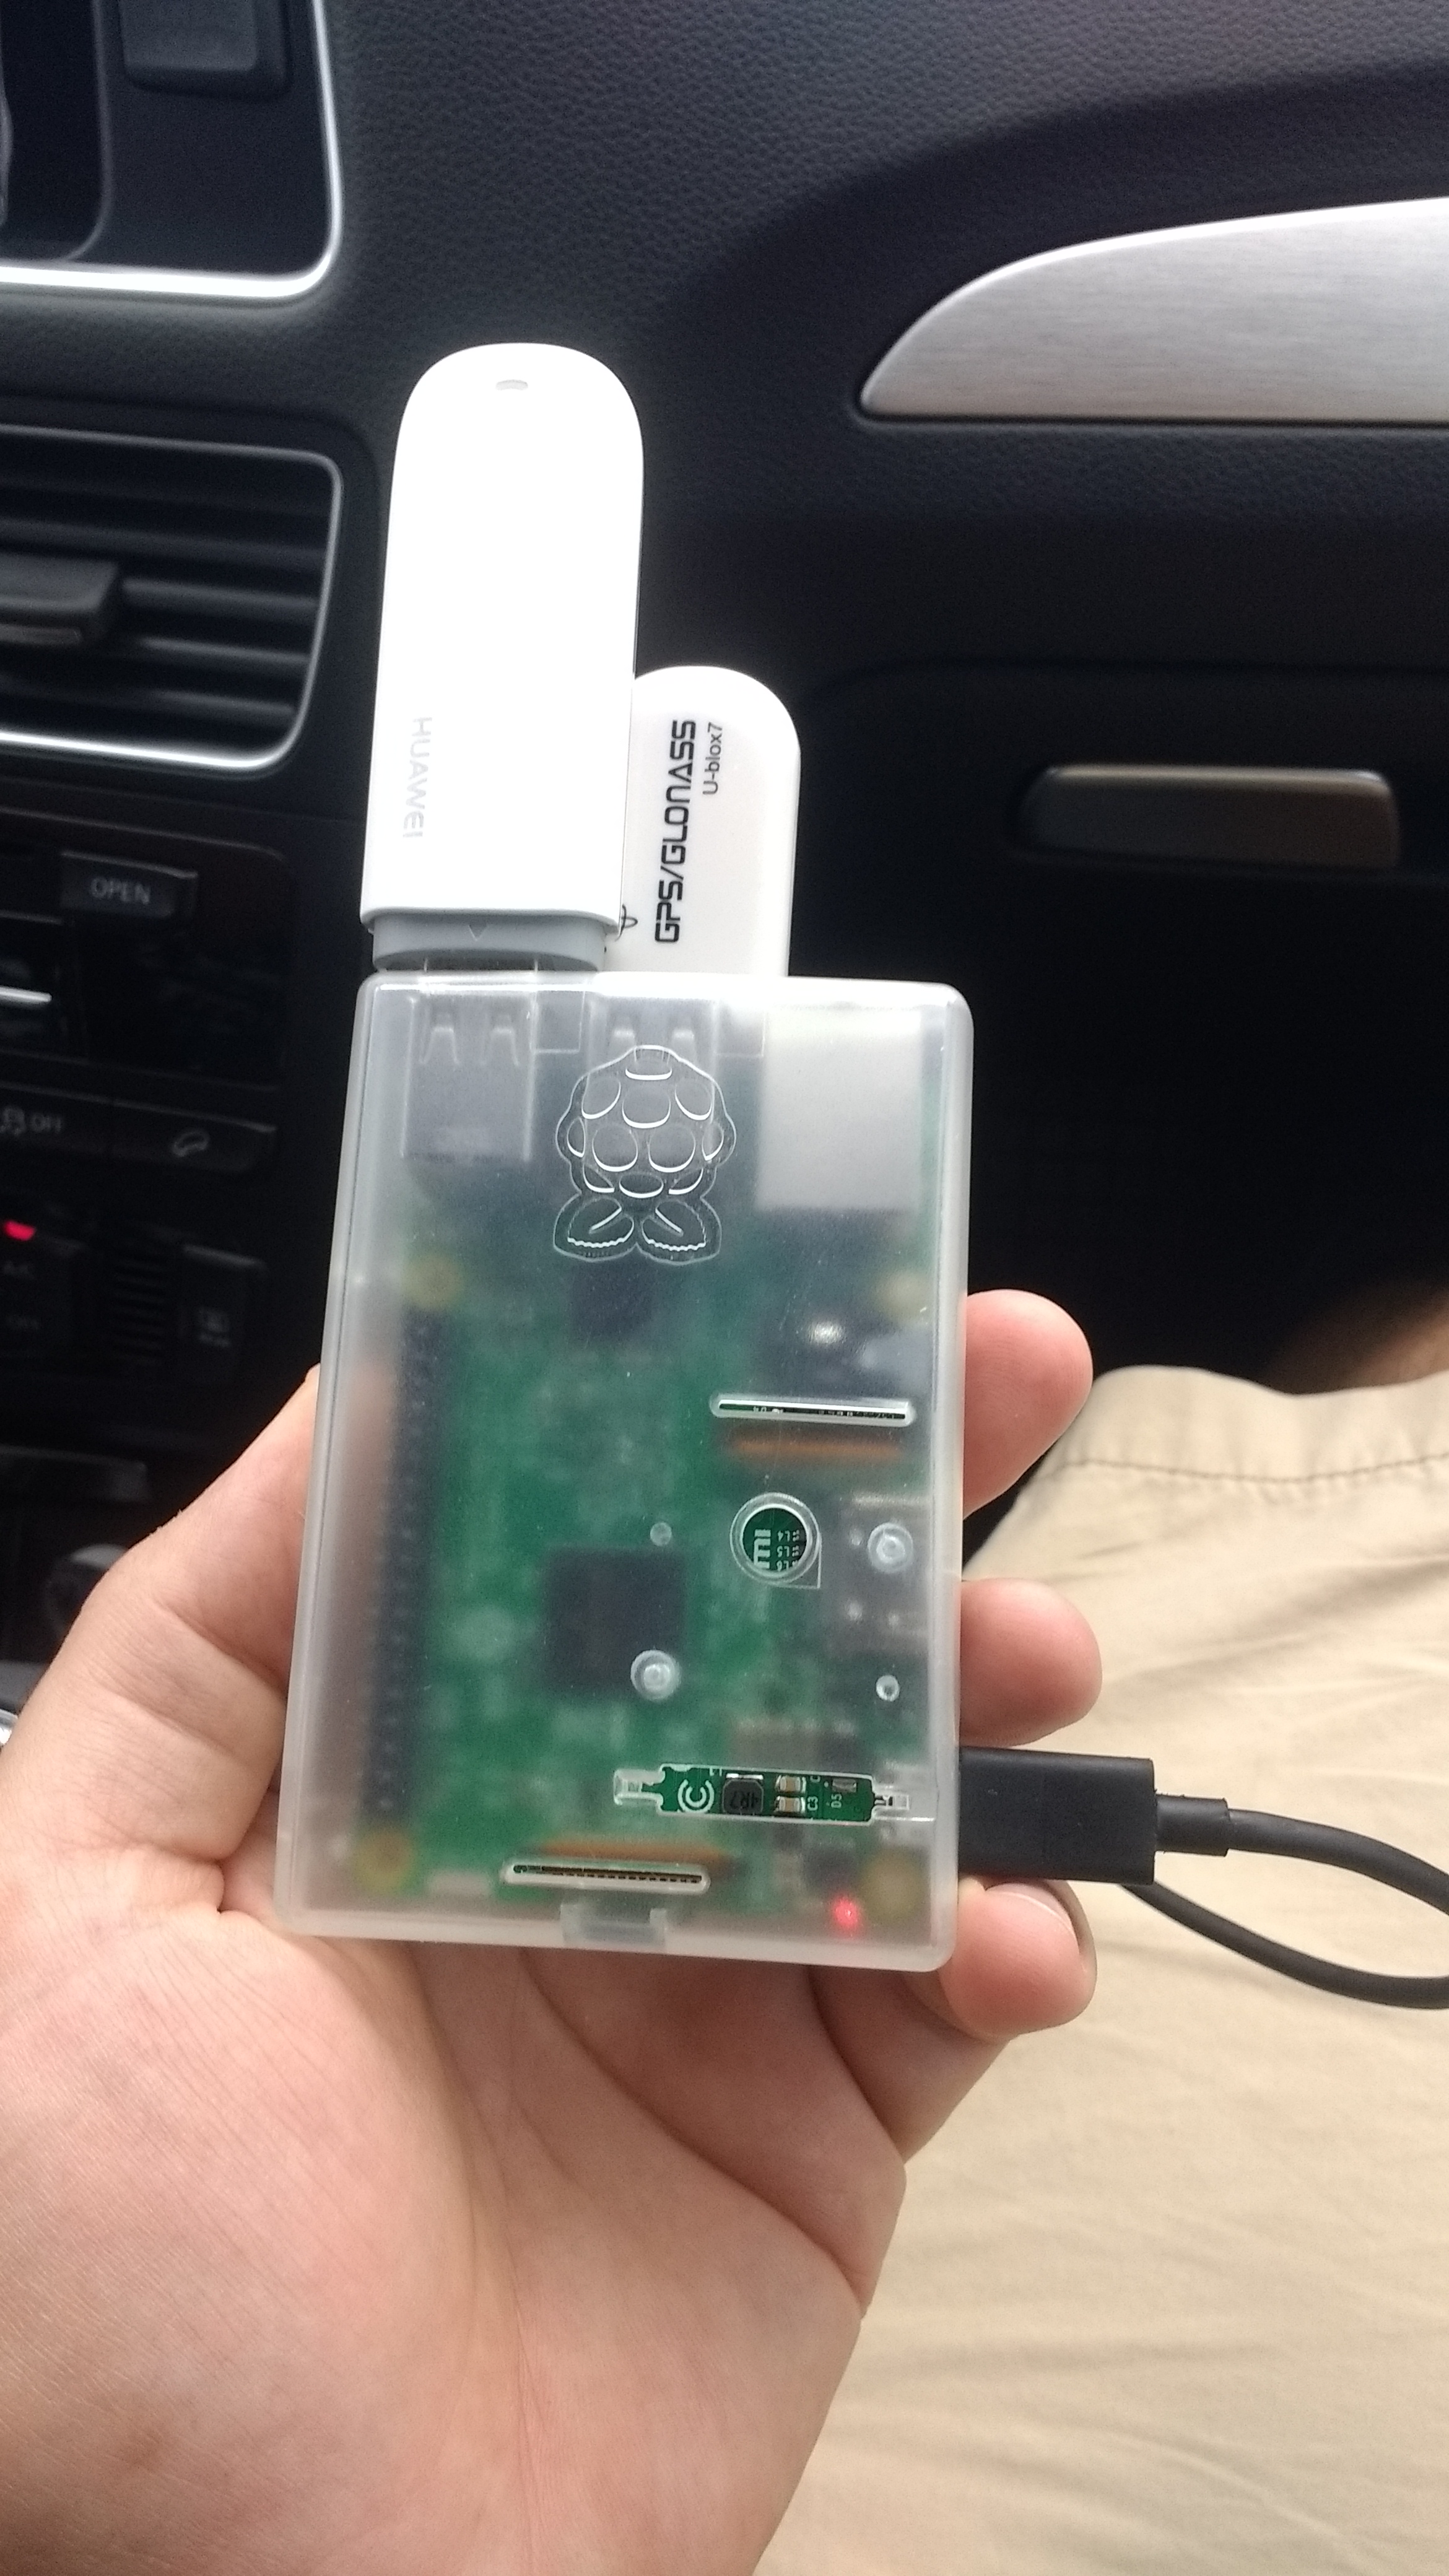
For building the prototype we choose the following off-the-shelf components:

  • Raspberry Pi or any Linux embedded device
  • GPS Module or Dongle using standard NMEA protocol
  • 3G/4G Mobile broadband modem
  • Sim Card with data plan

2. Software components

The full code and build instructions are available on github.

2.1 IoT Cloud

PubNub cloud provides a realtime messaging API for building Mobile, Web, and IoT Applications. It has SDKs supporting a large set of platforms languages and Operating Systems.

To use PubNub, you should first register for an account, create an application and add a new Key set for our GPS data streaming. For more information you can consult the Quick Start guide.

After that you will get a pair of Keys one for publishing data to a channel and other one for subscribing to it.

2.2 Embedded Software

2.2.1 Broadband connection

Follow our previous guide on how to use Ofono to enable cellular modem connection.

2.2.2 GPS interfacing

GPS modules put out typically on the serial interface a series of strings of information called the National Marine Electronics Association (NMEA) protocol.

For our use case all we need is to fetch the position, speed and time. For that parsing the $GPRMC sentences is  enough. As parsing library we use minmea, a lightweight C library:

Parsing is restricted to only RMC sentences:

minmea_sentence_id(line, false) == MINMEA_SENTENCE_RMC

If input line is not empty pack it into a rmc frame :

struct minmea_sentence_rmc frame;
if (minmea_parse_rmc(&frame, line))

Get time, speed (m/s) and coordinates (latitude, longitude) :

minmea_gettime(&ts, &frame.date, &frame.time);

/*convert speed from knot to mps*/
speed = KNT2MPS*minmea_tofloat(&frame.speed);
                    
minmea_tocoord(&frame.latitude); 
minmea_tocoord(&frame.longitude);

Those parameters are then packed into a json array :

/*format json string*/
asprintf(&gps_json_string, gps_data, 
          minmea_tocoord(&frame.latitude), 
          minmea_tocoord(&frame.longitude), 
          speed, 
          time);

gps = json_tokener_parse(gps_json_string);

Here is an output example:

[ { "latlng": [ 47.648102, 18.327868 ], "speed": 20.011890, "time": "2017-07-03 17:36:42" } ]

2.2.3 Location publishing

PubNub C-SDK is used to used to publish the data on the cloud:

The connection initialization is done using the Publish/Subscribe keys:

struct pubnub_sync *sync = pubnub_sync_init();
struct pubnub *pubnb = pubnub_init(PUBKEY, SUBKEY, 
                                   &pubnub_sync_callbacks, sync);

Publishing the json GPS data:

pubnub_publish(p,CHANNEL,data,TMOUT,NULL,NULL);

*In our code, we choose to send data only if the target is moving (speed > Threshold)

Finally verify if data was correctly sent:

if (pubnub_sync_last_result(s) != PNR_OK)
    printf("pubnub publish error!\n");

2.3 Live View Web Interface

For tracking the device and display the position in real-time on a map, we will use Mapbox and Javascript powered EON Dashboard.

The full code can be found here.

To start you will need to create a MapBox account. Once this is done, you can either create a new map design or use an existing one for example Mapbox streets.

You will also get a Mapbox authentication token to be used to connect with your account.

The Javascript code will subscribe to the PuBNub corresponding channel, fetch the position and show it on the Map in real-time.

Initialize connection to PubNub:

var pn = new PubNub({
             //replace with your own sub-key
             subscribeKey: 'sub-c-xxxxxxxx-xxxxx-xxxxx-xxxxx-xxxxxxxxxx'            
             });

Define the EON map function by providing the API access token (mbToken), map ID (mbId) and the channel used to get GPS data from:

var map = eon.map({
        pubnub: pn,
        id: 'map',
        mbId: 'mapbox.streets',
        mbToken: 'pk.eyxxxxxxxxxxxxxxxxxxxxxxxxxxxxxxxxxxxxxxxxxxxxxxxx',
        channels: ['gps-location'],

Function setView is added to set the initial position from the last know value:

message: function (data) {
            map.setView(data[0].latlng);
         },

Zoom option is set a focus on the position:

options: {
    zoomAnimation: true,
    zoom:16
 },

Finally a following position marker parses the latlng coordinates and show them on the map:

marker: function (latlng) {
          return (new L.Marker(latlng));
        }
 });

Conclusion

In this tutorial we have implemented a real-time GPS tracking system using a Raspberrypi connected to the Cloud. In future articles we will show how to extend this setup using OBD2 adapter and a Bluetooth connection to stream more data from the car to the cloud.
  • 0

Add mobile broadband connectivity to Embedded Linux

In this article we will show how to extend an IoT Embedded Linux System with a broadband connection using 3G/4G networks.

Poky/Yocto is used as Linux distribution in combination with the mobile telephony application oFono.

As hardware example we have a raspberrypi, nevertheless the same setup was applied and verified on other standard development kits and custom boards.

For the broadband connectivity Huawei E173  3G USB stick is used:

If using a different modem, check first if it’s supported with oFono. Here is a list of supported hardware.

Kernel configuration

In order to support 3G USB modems, the following kernel configuration options
need to be enabled :

CONFIG_USB_SERIAL=y
CONFIG_USB_SERIAL_GENERIC=y
CONFIG_USB_SERIAL_WWAN=m
CONFIG_USB_SERIAL_OPTION=m

CONFIG_PPP=m
CONFIG_PPP_MULTILINK=y
CONFIG_PPP_FILTER=y
CONFIG_PPP_ASYNC=m
CONFIG_PPP_SYNC_TTY=m

If those options are used, you should see the following in dmesg:

usbserial: USB Serial support registered for GSM modem (1-port)  
 GSM modem (1-port) converter detected          
usb 1-1.3: GSM modem (1-port) converter now attached to ttyUSB0  
option 1-1.3:1.1: GSM modem (1-port) converter detected          
usb 1-1.3: GSM modem (1-port) converter now attached to ttyUSB1  
option 1-1.3:1.2: GSM modem (1-port) converter detected          
usb 1-1.3: GSM modem (1-port) converter now attached to ttyUSB2


Yocto recipes

To support oFono, the image recipe should include the following packages:

 
IMAGE_INSTALL += "ofono ofono-tests"

To allow ofono integration with network manager connman, the following packages can be added:

IMAGE_INSTALL += "connman connman-client"

Connman shall be then enabled with 3g support:

PACKAGECONFIG_append_pn-connman = " 3g"


Ofono setup

oFono provides a mobile telephony (GSM/UMTS) application framework that includes consistent, minimal, and easy to use complete APIs. It offers a high-level D-Bus API for use and integrate with other applications.

The advantage of using oFono is that very simple to configure and you will not have to deal with any kind of AT commands.

Plug in your 3G modem and check if recognized by oFono:

root@raspberrypi:/usr/lib/ofono/test# ./list-modems

[ /huawei_0 ]
    Type = hardware
    Powered = 1                    
    Serial = 860051019861709
    Manufacturer = huawei
    Model = E173
    Emergency = 0
    Online = 0
    Features = sim 
    Lockdown = 0
    Revision = 11.126.16.04.00
    Interfaces = org.ofono.SimManager 
    [ org.ofono.SimManager ]
        BarredDialing = 0
        Present = 1
        CardIdentifier = 89492019165001742330
        LockedPins = pin 
        PinRequired = pin
        FixedDialing = 0
        PreferredLanguages = de en 
        Retries = [puk2 = 10] [pin2 = 3] [pin = 3] [puk = 10] 
        SubscriberNumbers =

Enable modem:

root@raspberrypi:/usr/lib/ofono/test# ./enable-modem
Connecting modem /huawei_0...

If SIM card is protected with pin, enter the code:

root@raspberrypi:/usr/lib/ofono/test# ./enter-pin pin 1234
Enter Pin for modem /huawei_0...

Depending on the country and Network provider, APN setting is to be configured:

root@raspberrypi:/usr/lib/ofono/test# ./create-internet-context internet.eplus.de
Found context /huawei_0/context1
Setting APN to internet.eplus.de

Now the modem can be set online and activated:

root@raspberrypi:/usr/lib/ofono/test# ./online-modem

root@raspberrypi:/usr/lib/ofono/test#./activate-context

Here is an example script of modem initialization:

#!/bin/sh

#set -x

MODEM="/huawei_0"
PIN="1234"
APN="internet.eplus.de"
OFONO_DIR=/usr/lib/ofono/test

export PATH=$OFONO_DIR:$PATH

enable-modem $MODEM

if [ -n "$PIN" ]; then
    enter-pin $MODEM pin $PIN
fi

create-internet-context $APN
online-modem  $MODEM
activate-context

That’s it! the modem is up and the broadband connection is enabled:

root@raspberrypi:/usr/lib/ofono/test# ifconfig 
eth0      Link encap:Ethernet  HWaddr B8:27:EB:C4:02:82  
          UP BROADCAST MULTICAST  MTU:1500  Metric:1
          RX packets:0 errors:0 dropped:0 overruns:0 frame:0
          TX packets:0 errors:0 dropped:0 overruns:0 carrier:0
          collisions:0 txqueuelen:1000 
          RX bytes:0 (0.0 B)  TX bytes:0 (0.0 B)

lo        Link encap:Local Loopback  
          inet addr:127.0.0.1  Mask:255.0.0.0
          inet6 addr: ::1%694092/128 Scope:Host
          UP LOOPBACK RUNNING  MTU:65536  Metric:1
          RX packets:1120 errors:0 dropped:0 overruns:0 frame:0
          TX packets:1120 errors:0 dropped:0 overruns:0 carrier:0
          collisions:0 txqueuelen:1 
          RX bytes:81280 (79.3 KiB)  TX bytes:81280 (79.3 KiB)

ppp0      Link encap:UNSPEC  HWaddr 00-00-00-00-00-00-00-00-00-00-00-00-00-00-00-00  
          inet addr:10.148.173.91  P-t-P:10.148.173.91  Mask:255.255.255.255
          UP POINTOPOINT RUNNING NOARP MULTICAST  MTU:1500  Metric:1
          RX packets:17 errors:0 dropped:0 overruns:0 frame:0
          TX packets:18 errors:0 dropped:0 overruns:0 carrier:0
          collisions:0 txqueuelen:500 
          RX bytes:1762 (1.7 KiB)  TX bytes:1207 (1.1 KiB)

The cellular connection is also available in connman:

root@raspberrypi:/usr/lib/ofono/test# connmanctl technologies
/net/connman/technology/cellular
  Name = Cellular
  Type = cellular
  Powered = True
  Connected = True
  Tethering = False
/net/connman/technology/ethernet
  Name = Wired
  Type = ethernet
  Powered = True
  Connected = False
  Tethering = False

we can for example enable cellular connection tethering over wifi:

root@raspberrypi:# sysctl -w net.ipv4.ip_forward=1

root@raspberrypi:# connmanctl tether wifi on EmbexuSpot 123456789

If having problem to connect with cellular network, you can use list-modem to check the connection status:

root@raspberrypi:/usr/lib/ofono/test# ./list-modems 
[ /huawei_1 ]
    Type = hardware
    Model = E173
    Powered = 1
    Interfaces = org.ofono.Phonebook org.ofono.ConnectionManager org.ofono.CellBroadcast org.ofono.NetworkRegistration org.ofono.SupplementaryServices org.ofono.CallBarring org.ofono.CallSettings org.ofono.CallF 
    Revision = 11.126.16.04.00
    Serial = 860051019861709
    Online = 1
    Features = gprs cbs net ussd sms rat sim 
    Emergency = 0
    Manufacturer = huawei
    Lockdown = 0
    [ org.ofono.Phonebook ]
    [ org.ofono.ConnectionManager ]
        Attached = 1
        Suspended = 0
        Powered = 1
        Bearer = umts
        RoamingAllowed = 0
    [ org.ofono.CellBroadcast ]
        Topics = 
        Powered = 0
    [ org.ofono.NetworkRegistration ]
        LocationAreaCode = 51906
        MobileCountryCode = 262
        CellId = 33184422
        Mode = auto
        Technology = umts
        Status = registered
        MobileNetworkCode = 03
        Name = Blau
        Strength = 41
    [ org.ofono.SupplementaryServices ]
        State = idle
    [ org.ofono.CallBarring ]
        VoiceOutgoing = disabled
        VoiceIncoming = disabled
    [ org.ofono.CallSettings ]
        VoiceCallWaiting = disabled
        HideCallerId = default
        ConnectedLineRestriction = unknown
        CallingNamePresentation = unknown
        CalledLinePresentation = disabled
        ConnectedLinePresentation = unknown
        CallingLineRestriction = off
        CallingLinePresentation = enabled
    [ org.ofono.CallForwarding ]
        VoiceNoReply = 
        VoiceNotReachable = +491793000400
        VoiceUnconditional = 
        ForwardingFlagOnSim = 0
        VoiceNoReplyTimeout = 20
        VoiceBusy = +491793000400
    [ org.ofono.MessageWaiting ]
        VoicemailMessageCount = 0
        VoicemailWaiting = 0
        VoicemailMailboxNumber = +491779911
    [ org.ofono.SmartMessaging ]
    [ org.ofono.PushNotification ]
    [ org.ofono.MessageManager ]
        Alphabet = default
        ServiceCenterAddress = +491770610000
        UseDeliveryReports = 0
        Bearer = cs-preferred
    [ org.ofono.RadioSettings ]
        GsmBand = any
        TechnologyPreference = any
        UmtsBand = any
    [ org.ofono.AudioSettings ]
        Active = 0
    [ org.ofono.VoiceCallManager ]
        EmergencyNumbers = 08 000 999 110 112 911 118 119 
    [ org.ofono.AllowedAccessPoints ]
    [ org.ofono.SimManager ]
        PreferredLanguages = de en fr 
        SubscriberIdentity = 262032735704422
        FixedDialing = 0
        MobileNetworkCode = 03
        MobileCountryCode = 262
        LockedPins = pin 
        CardIdentifier = 894921002875759225
        BarredDialing = 0
        SubscriberNumbers = 
        PinRequired = none
        Present = 1
        Retries = [pin2 = 3] [puk2 = 10] [puk = 10] [pin = 3]